The equipment used was again my trusty Photogenic PL-2500DR, Nikon D700 and PW ControlTL units in the form of an on camera MiniTT1 and strobe triggered FlexTT5. All adjustments were done to the receiver TT5 unit connected to the Photogenic head via the TT5's P2 port. The obvious advantage to this is that if other light sources were to be used in an all Hypersync setup, each one could be adjusted for optimum performance. It also still permits the possibility of mixing and matching speedlights in either manual or iTTL into the equation.
This time, it was both a little more involved and at the same time, quick and dirty. What I did was go middle of the road for shutter speed and flash power settings but went through all the possible P2 settings and variations to find what settings worked best. Camera shutter speed never varied from 1/4,000th and studio head power never changed from 500W/s, unless clearly specified.
I chose the shutter speed as it was very fast and would give a great baseline. The 500W/s power setting was also perfect. Due to the way the Photogenic head works, it is right in the middle of it's pulse duration range and an increase or decrease in power would not greatly affect the quality of the shot much, if any..
For the sake of conversation in this post, I shall define "banding" as being a black strip along the complete bottom of a photo in landscape mode or on the complete right side in portrait mode that can occupy anywhere from 5% to 100% of the frame.
Gradation shall be described as a being a dark to light transitional strip that does not occupy the entire bottom or left side as apparently as banding does. Gradations for *me* should not exceed 15% of the width of a frame, it does not occupy the entire width from side to side or length from bottom to top, depending on the orientation of the camera.
So why do I go into such detail about a term that is basically a variant of the same effect? Simple... I would not rate a photo with banding as being easily usable, however, a photo with gradations is easily usable under most conditions. Under the most extreme of gradation conditions, a simple very light crop and it is easily removed.
So, let's take a look at the results, but before we do, we needed to see a baseline of what a shot will look like at normal speeds and then with the "old guard". This means a 2nd baseline photo using the original way we used to do it, with the Nikon High Speed Hack Trick using a pair of PW Plus II units triggered from the sync connector of either the on camera or on flash sync connectors.
Here is our starting point.
Pic #1 - The Baseline sub-maximum sync speed photo
ControlTL P2 settings: Factory default
D700 Shutter speed at 1/160th, F/22
Photogenic power down to 31 W/s (lowest power level)
Banding: Zero - Gradations: Zero.

Pic #2 - Plus II to Plus II - The Nikon HSFP Hack Sync Trick
D700 - F/22 - 1/4000th
Photogenic PL-2500DR at 500 W/s
Banding: Zero - Gradation - Bottom left corner - minor
I never got any banding with the HSFP hack trick, but as you can see, I do get a very gentle gradation along the right-side bottom half edge of the photo when in portrait mode.
Pic #3 - Default settings with both ControlTL receiver and trasmitter
ControlTL P2 settings: Factory default
D700 Shutter speed at 1/4000th, F/22
Photogenic power at 500 W/s
Banding: Very obvious and intrusive

Out of the box, the ControlTL units do not play very nice with my Photogenic studio head, and that banding is very obvious. This photo to me, is unusable.
However, the software has specific settings for the Alien Bee AB400, AB800, AB1600, ABR800, X800, X1600, X3200, Ultra1200 and Zeus lines. Since the Photogenic is not directly supported (one day I hope they do!), I took a look at EACH category and will show you the best results from each section and the settings needed to attain this photo.
Now, one thing that was important to me, was consistency, so I took 20 photos at each setting and looked for differences. After doing it like this with the AB400, AB800 and AB1600 flash settings and seeing No differences in between the same shots, I limited myself to 1 photo per setting and then showing here the photo that gave me the best results in each category.
Pic #4
ControlTL P2 settings: AB400 - 6
D700 - F/22 - 1/4000th
Photogenic PL-2500DR at 500 W/s
Banding: Zero - Gradation: for all intents, are as close to zero as you can get without actually being zero!
Better performance than when using the HSFP hack trick with the Plus II units. Gradations are near invisible and would be completely undetectable in any shot short of a photo of a clean white wall.

Pic #5
ControlTL P2 settings: AB800 - 5
D700 - F/22 - 1/4000th
Photogenic PL-2500DR at 500 W/s
Banding: Zero - Gradation: A touch more than the previous setting
Near identical performance to using the HSFP hack trick with the Plus II units.

Pic #6
ControlTL P2 settings: AB1600 - 6
D700 - F/22 - 1/4000th
Photogenic PL-2500DR at 500 W/s
Banding: Zero - Gradation: clearly visible on bottom right of the photo.
Lower performance compared to using the HSFP hack trick with the Plus II units.

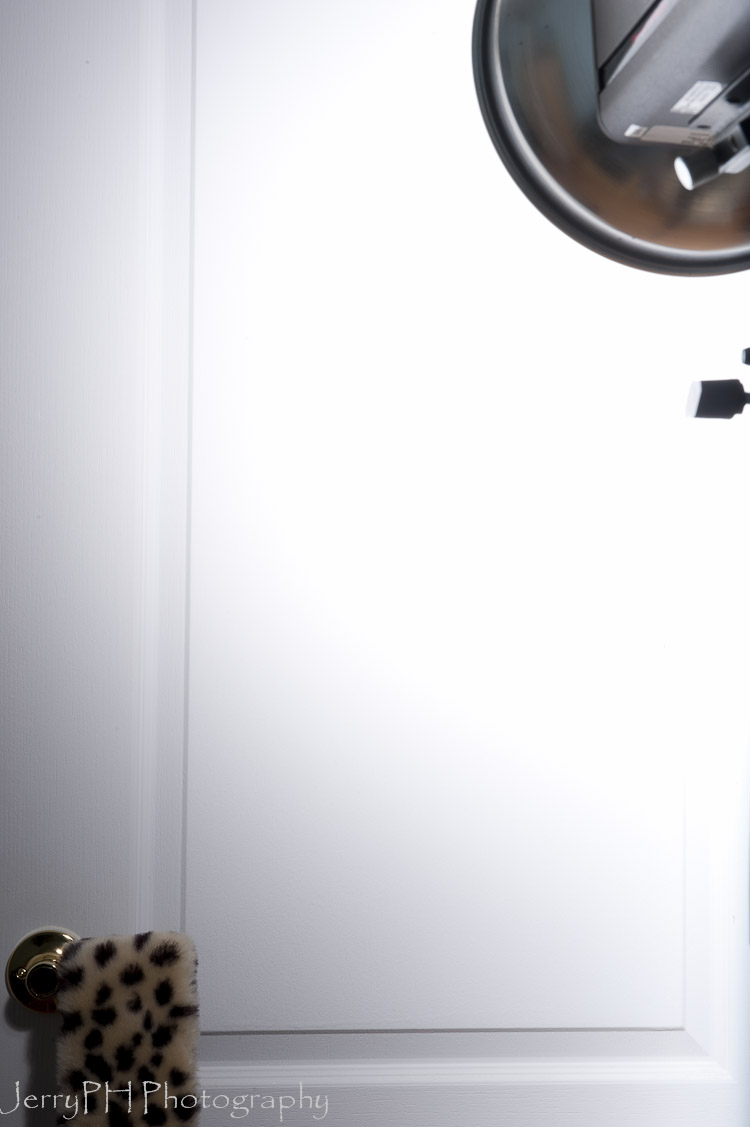
Pic #7
ControlTL P2 settings: ABR800 - 5
D700 - F/22 - 1/4000th
Photogenic PL-2500DR at 500 W/s
Banding: Zero - Gradation: A touch more than the previous setting
Near identical performance to using the HSFP hack trick with the Plus II units but more light output over any of the other photos here. Visible in the histogram as something between 1/3rd to 1/2 a stop more of light.

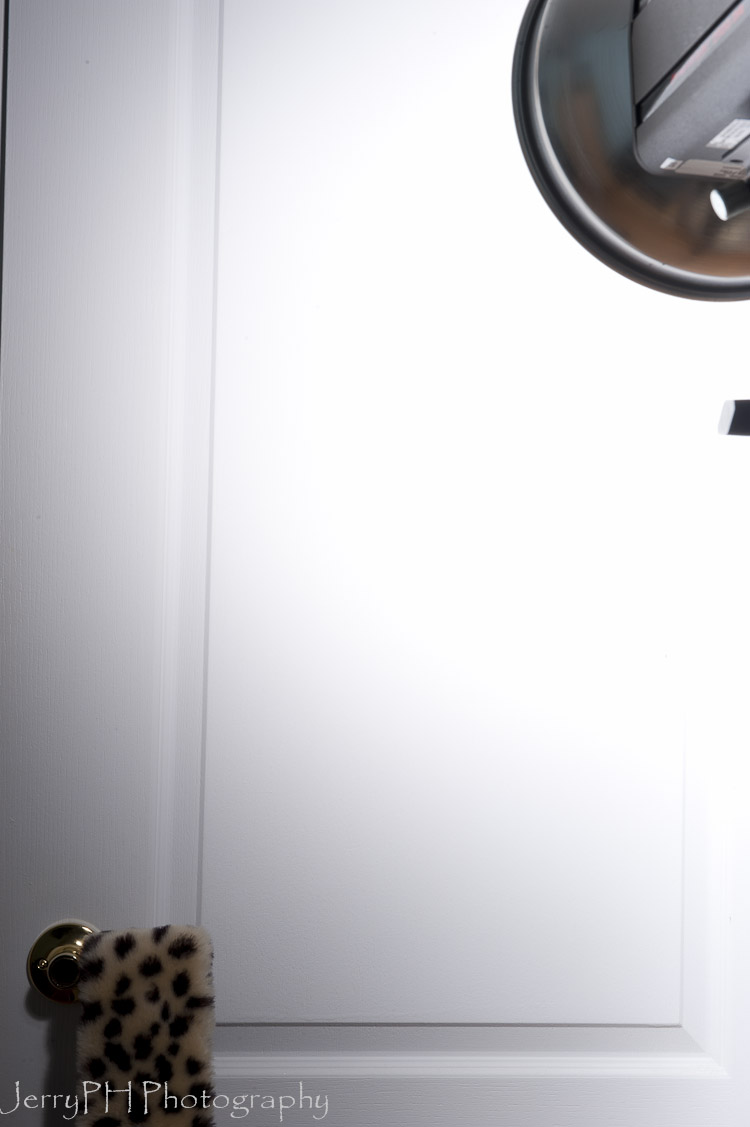
Pic #8
ControlTL P2 settings: X800 - 6
D700 - F/22 - 1/4000th
Photogenic PL-2500DR at 500 W/s
Banding: Zero - Gradation: very minor, hard to see unless you really look for it.
Better performance than when using the HSFP hack trick with the Plus II units. Gradations are hard to see unless you are looking for it..

pic #9
ControlTL P2 settings: X1600 - 5
D700 - F/22 - 1/4000th
Photogenic PL-2500DR at 500 W/s
Banding: Zero - Gradation: Evident but nothing major
Again, near identical performance to using the HSFP hack trick with the Plus II units.

Pic #10
ControlTL P2 settings: X3200 - 5
D700 - F/22 - 1/4000th
Photogenic PL-2500DR at 500 W/s
Banding: Zero - Gradation: Evident but nothing major
Again, about the same performance compared to using the HSFP hack trick with the Plus II units.

Pic #11
ControlTL P2 settings: ULTRA1200 - 5
D700 - F/22 - 1/4000th
Photogenic PL-2500DR at 500 W/s
Banding: Zero - Gradation: Evident but nothing major
Another example where you get about the same performance compared to using the HSFP hack trick with the Plus II units.

Pic #12
ControlTL P2 settings: Zeus - 8
D700 - F/22 - 1/4000th
Photogenic PL-2500DR at 500 W/s
Banding: Zero - Gradation: Evident but nothing major
Slightly better performance than when compared to using the HSFP hack trick with the Plus II units.
Final thoughts:
The value changes between the settings have to be very subtle, but obvious. We can choose some minor gradations with slight increases in exposure or get a very clean frame with negligible to no banding or gradation.
My personal choice is to get the completely clean frame at the expense of a small amount of exposure. With the amount of light that a 1,000 W/s studio head can give, the loss is very small. How small? So small that you can see only tiny changes in the histogram comparing it to the highest one of the bunch.
So which setting works best for me? The AB400-6 was incredible, though the X800-6 setting was really, really close. They both had, for all intents and purposes, no banding and no gradations and pretty much did the job for me. The most "powerful" was the AB800-5. It gave me the most light for the minimal gradations it produced.
So, those were the results of my tests. I hope it encourages you to do the same with your setup and see what settings are optimal for your needs.
Enjoy!
EDIT: This test was done a while ago and since then, PW have released newer firmware updates. These updates changed the Hypersync timing, so for me to get similar results, I would need to do this test again and see what settings would work best at what power settings.